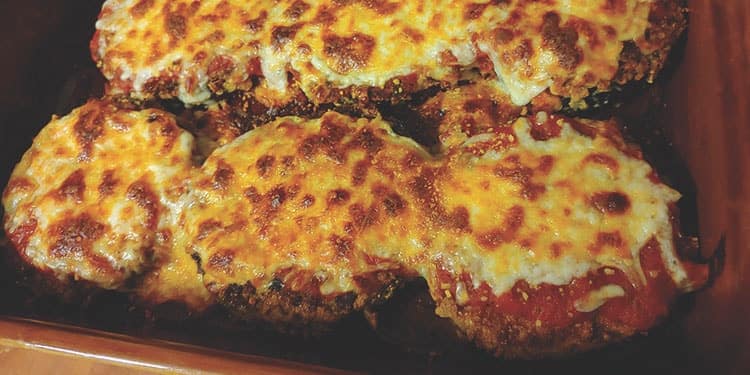
Ditch all of the gluten and none of the flavor with this extra-crunchy eggplant dish.
Given that half of our household has recently become gluten free, our family has been experimenting with new takes on classic dishes. Enter this extra-crunchy, cornflake-crusted eggplant Parm — a recipe devised by my pescatarian (now also gluten-free) husband. Ingeniously substituting traditional breadcrumbs with cornflakes, this sometimes-too-soft dish became perfectly crispy with a little hint of sweetness.
Pro tip: To get the eggplant soft and to prevent a rubbery texture, grill it first on a grill pan or an outdoor grill. A minute on each side will do the trick. To finish things off, broil the top of the eggplant for about a minute or two max to get the cheese nice and brown. Not only will it look gorgeous, it also amps up the flavor.
Extra-crunchy Eggplant Parmesan
Serves 4
Ingredients
1 cup chickpea flour
2 eggs, beaten (or 1 egg beaten and mixed with a splash of milk)
1 cup crushed cornflakes
Olive oil
1 cup prepared pasta sauce
1 to 1 ½ cups shredded mozzarella cheese
½ cup grated Parmesan cheese
Salt and pepper to taste
Directions
1. Preheat the oven to 375˚ F.
2. Slice the eggplant into ½-inch circles and set aside.
3. Grill eggplant on a super-hot grill pan or outdoor grill for 1 minute on each side.
4. Let cool for a few minutes.
5. Coat the eggplant in chickpea flour first, then dip into the egg mixture and finally the cornflake crumbs. Shake off any excess.
Box: Pro tip: Place cornflakes in a quart-size plastic bag. Seal and burp the bag,and then let your kids crush the cornflakes with their hands!
6. Heat oil (2 tablespoons) in a nonstick skillet.
7. Fry eggplant for about 3 minutes on each side. Drain off any excess oil.
8. Place eggplant in a lightly oiled casserole dish. Top with pasta sauce and then generous amounts of cheese (both mozzarella and Parmesan).
9. Bake for about 15 minutes, or until the cheese melts.
10. Set oven to broil and brown the cheese for another minute or two.
11. Let cool for a few minutes and enjoy.
