Introduce your kids to printmaking and upcycle your used milk cartons.

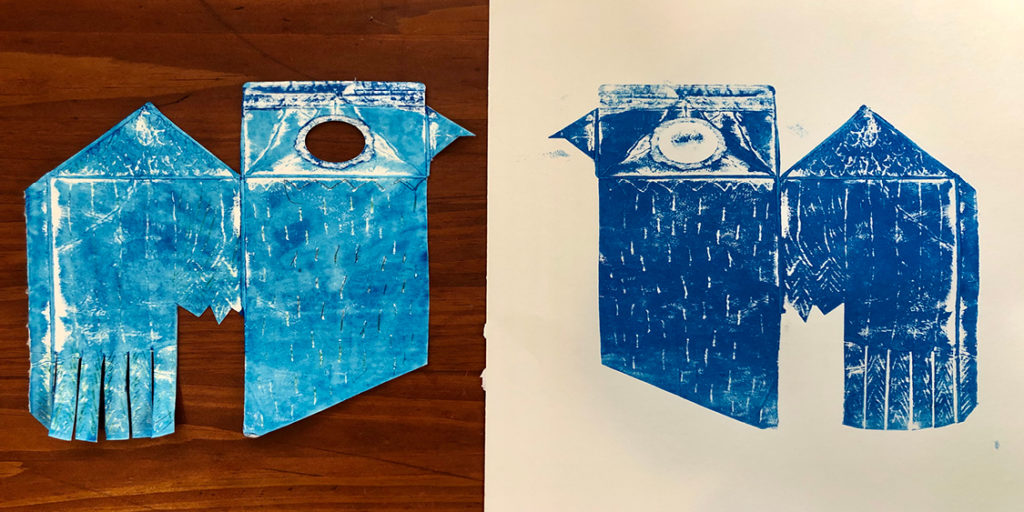
This project is a simple form of printmaking that’s easy, fun, and can produce some really stunning results. The concept is the same idea as a woodcut print, but without the block of wood or the sharp and dangerous tools necessary to carve it. Almost all of the materials for this project can be found in your kitchen and pantry. But the block-printing ink is really key to the project and can be found at art-supply or craft stores. The drawing tool should be a blunt instrument that your little one can press into the waxy surface of the carton to make indentations. Those indentations will become white lines in your print as the ink, which is rolled onto the surface, won’t seep down into those crevices. Also, don’t worry about existing lines or deformities in the carton’s surface. Embrace the randomness of those marks and see what surprises await when you pull your first print!

Materials
- Empty box-shaped milk — or almond milk or even chicken stock — carton that has a water-resistant liner
- Paper towels
- Old plastic table cloth or newspaper
- Scissors or a utility blade
- A dull-pointed drawing tool, such as a dried-out pen, dull pencil or even a chopstick
- Water-based block-printing ink, such as Blick or Speedball
- Rolling pin or a brayer
- Wax paper or parchment paper
- Clear tape
- Plexiglass, cardboard or an old, clean cutting board
- Paper or something to print on like a grocery bag, etc.
- Wooden spoon
Instructions
1. Clean your empty carton with soap and water. Pat it dry with a paper towel and set it aside to dry completely.
2. Use an old plastic table cloth or newspapers to protect your work surface. Cut the carton into a square or an interesting shape. (An adult should be the one to use the craft blade.)
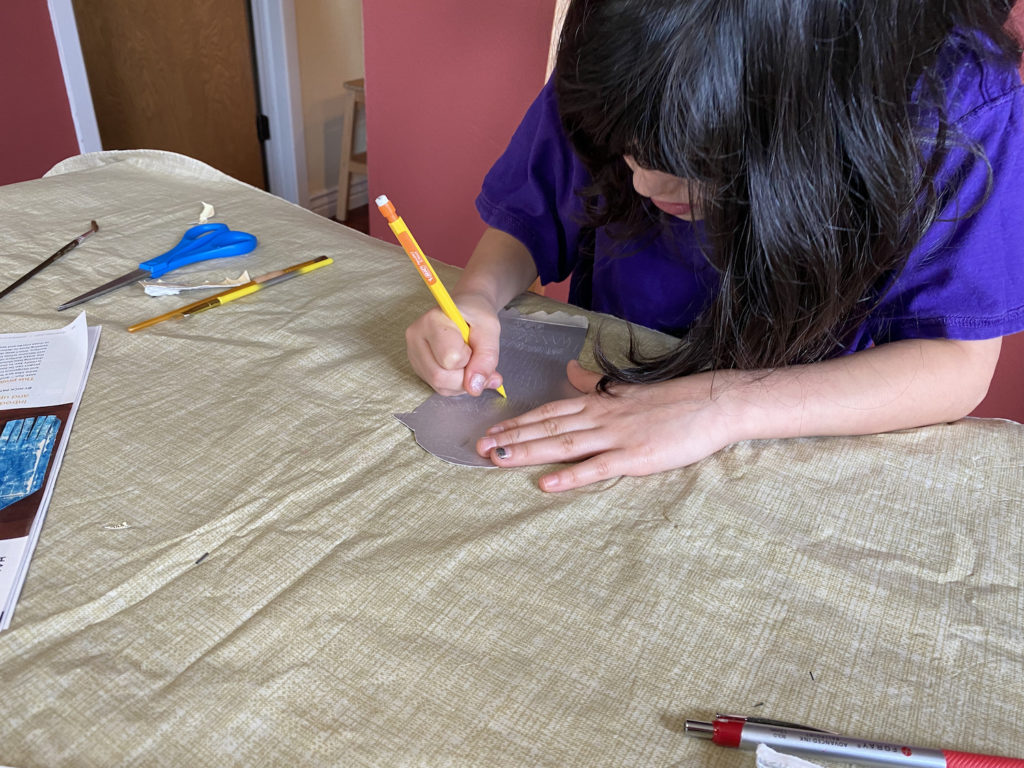
3. Using the blunt tool, have your child draw on the lined side of the carton. Make sure they are pressing down hard enough to leave an indentation. The deeper the crevice, the clearer the line will be.
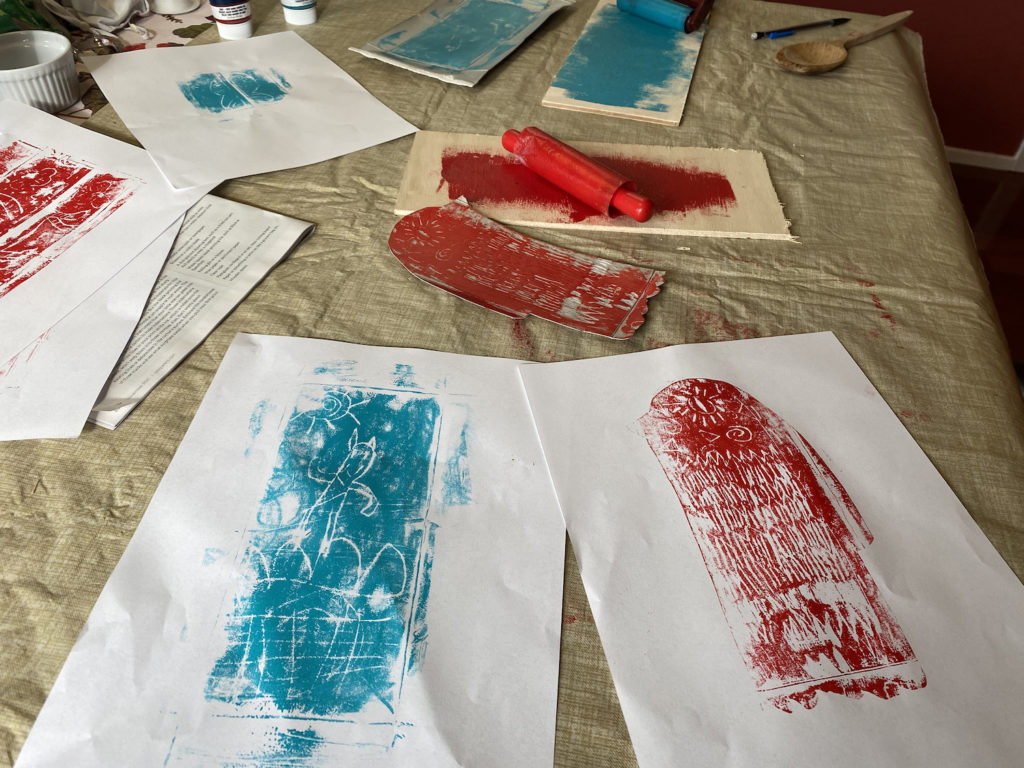
4. If you are using a rolling pin that you don’t want covered in ink, use wax or parchment paper to cover it and tape to secure. If covering, be sure to tape directly to the rolling pin, and then along the entire seam. Squeeze out your block-printing ink onto the plexiglass, cardboard or cutting board. Use your rolling pin to spread it out evenly. While you are doing this, the ink should also be transferring onto your rolling pin and coating it.
5. Roll out the ink onto your etched carton in the fewest passes possible so that your carton has a nice even layer of ink sitting on the surface.
6. Carefully place your paper over the inked carton. Make sure your paper completely covers the carton and try to align it so that there is an equal amount of space all around the outside. Where you place the paper will determine how the print transfers.
7. Burnish (rub) the paper with the back of a wooden spoon using small, circular motions. Be sure to get all the corners!
8. Pull back the paper to reveal your little artist’s latest masterpiece!

- Kids Craft: Milk-carton Masterpieces - November 14, 2021


