Camping in Oregon is a real adventure — we have some of the most spectacular landscapes in the world. The access to nature in Portland is something I want my kids to love like I do. But in recent years, reserving a campsite during the summer months has turned into an Olympic sport, where popular campsites book up 6 to 9 months in advance as soon as the reservations open up!
Because of our unpredictable weather, it takes a lot of gear or an optimistic spirit to go camping in the fall or spring. But this year, I decided to rent an RV and go camping along the coast. We were motivated by the 25% Black Friday discount to book a Cruise America standard RV (that fits 5) for 3 nights. And when the forecast threatened rain, I didn’t have to cancel our plans, because we would be camping inside! Here’s my guide to RV camping:
Setting Up and Traveling in the RV
Check-in was a breeze, since we already watched Cruise America’s YouTube video on the basics of connecting the electric, sewer, and water sources from the RV. Pro tip: We brought our own kitchen gear, as well as our own bedding, and lots of card games and art supplies, instead of paying for their “bedding” or “kitchen” extras.
Some cons: Traveling in an RV was an adjustment. It was louder inside the cabin because of all the rattles and shifts in the RV. There is no back-up camera but there is cruise control and bluetooth in the RV.
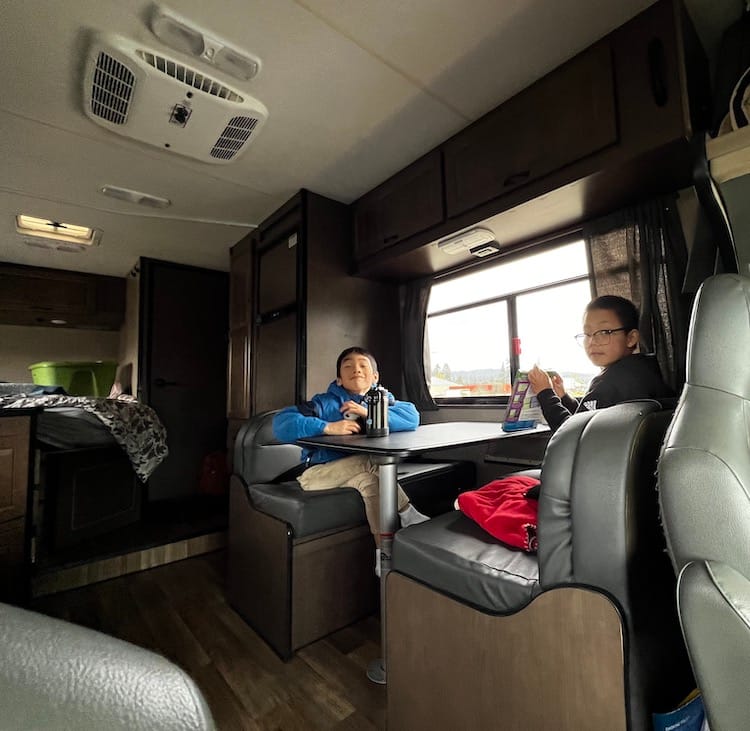
The pros: My boys took out their Exploding Kittens game right away and started playing on the card table. We didn’t have to stop to find a bathroom, since it was already available to us. We didn’t have to stop for food, because we had a bunch of drinks in the fridge and all the snacks in the cupboards. It made the drive so much easier.
Where We Camped
Stop 1: Cape Blanco State Park
Our first stop was Cape Blanco State Park south along Oregon’s coast, about four hours from Portland.
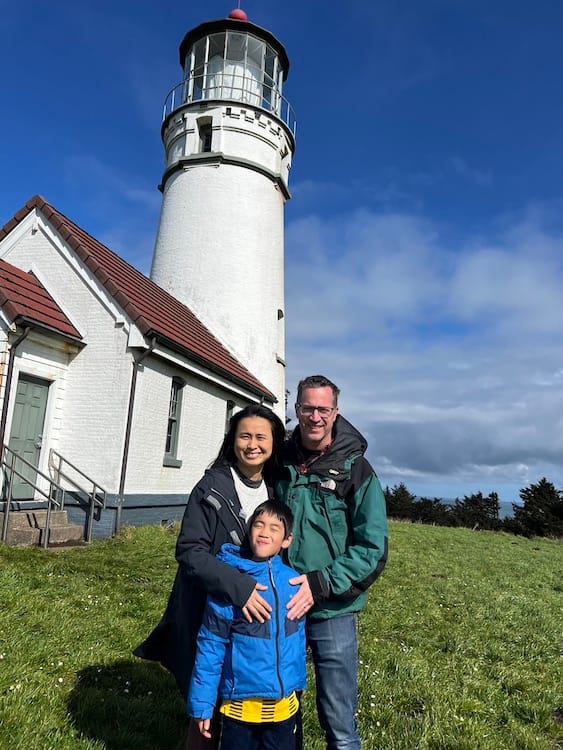
Upon our arrival, we quickly heated up a lasagna in the microwave when we got in and ate inside since the picnic table on the campsite was wet from the rain. The next morning, we pulled their bikes out from the storage compartment and the kids explored the camp. It is a gorgeous site with a trail that goes straight to the lighthouse (pictured above).
Stop 2: Bay Point Landing
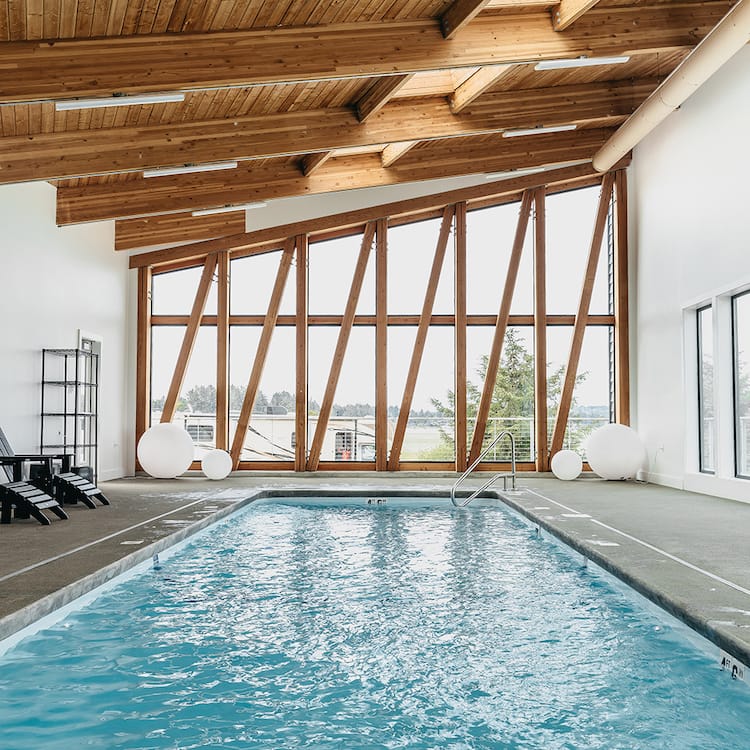
Our next stop was Bay Point Landing, a luxury RV park in Coos Bay that also rents out tiny houses and decked out Airstreams. Pro tip: Bringing our own RV was definitely the cheapest way to go, and we still had access to all their amenities—an indoor saltwater pool (pictured below), a fitness center equipped with a Peloton and treadmills, a kids den that has an old-school arcade table, and private showers and laundry facilities. The view of the bay is astounding and I imagine in the summertime, it would be fun to bring a kayak or paddle board. Still, in our spots of sun, we got to walk along the sandy beach and explore, and then make a fire for s’mores at the end of the day. It rained hard all night, rocking our RV and us to sleep.
Stop 3: Jessie M. Honeyman State Park
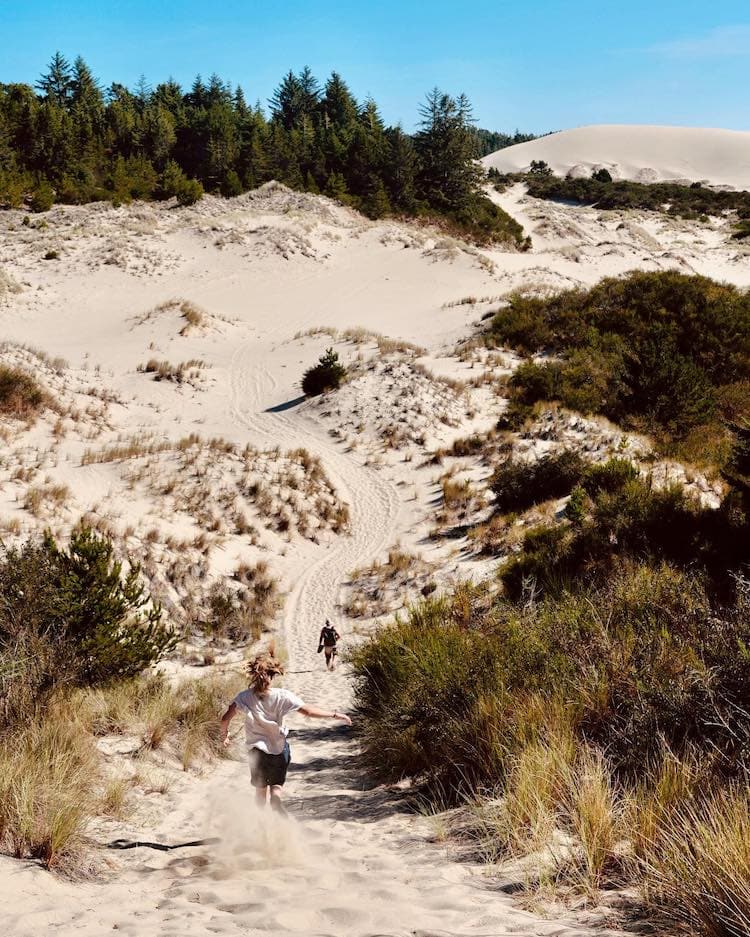
Our final full day was to Jessie M. Honeyman State Park in Florence. We found a two-hour window of no rain, so we went to explore the sand dunes. Pro tip: If you stay in the H-loop, there is a trail that will lead you directly to the dunes. The tent sites nearby were covered in giant puddles. There were no tents here, only trailers and RVs. So glad we didn’t have to worry about waking up in a puddle!
We got up early to make the three-hour drive home to return our RV at 11am. We spent $250 in gas and $400 for the rental (including miles).
It wasn’t as cheap as tent camping, but it sure was the easiest “camping” trip we’ve had!